


How to Unlock & Enter the World Tree (Panthalus Quest Chain)
The World Tree serves as the dedicated endgame map introduced in Palworld 1.0 (currently live on v1.0.5 ahead of the Winter 2026 v1.1 Side by Side update). A red barrier seals the trunk until you finish the post-tower quest chain:
- Defeat all 8 tower bosses: Complete the full tower sequence ending with Auri and Shaolong at the Azure Covenant Tower.
- Start the quest at the Deserted Islet (
-814, -824): Speak with the hatted traveller carrying a large backpack to unlock the Echoing Flute schematic and map markers. - Collect 4 ancient bones from whale skeletons: Visit all 4 marked whale skeletons to gather 1 bone per site, then craft the Echoing Flute at any base workbench.
- Summon and catch
 Panthalus: Play the Echoing Flute at the Deserted Islet shrine, chip the
 Water Pal down carefully, and capture it in a Pal Sphere.
- Activate the World Tree terminal: Keep Panthalus in your active 5-Pal party and interact with the terminal at the base of the tree to drop the barrier.
| Progression Step | Exact Location | Unlock Requirement |
|---|---|---|
| 1. All 8 Tower Bosses | Palpagos, Sakurajima, Feybreak & Sunreach | 8 Tower Key Spheres earned |
| 2. Traveller Quest | Deserted Islet (-814, -824) | Grants Echoing Flute schematic |
| 3. Whale Skeletons | 4 map-marked coastal skeletons | 4 ancient bones (1 per skeleton) |
| 4. Echoing Flute | Base Workbench | Crafted from all 4 bones |
| 5. Panthalus Capture | Deserted Islet Shrine | Must catch (defeating fails the step) |
| 6. Barrier Terminal | World Tree Entrance | Panthalus in active party |
Wild Pals inside the World Tree spawn around Level 72, and Palbox base building is disabled across the entire World Tree map. Maintain your crafting hubs outside and raise your character toward Level 80 beforehand (level cap breakdown and 1-80 leveling route).
Skip the World Tree grind
A PRO plays your account: the final boss clear, the level 80 climb, or the Pals for the fight.
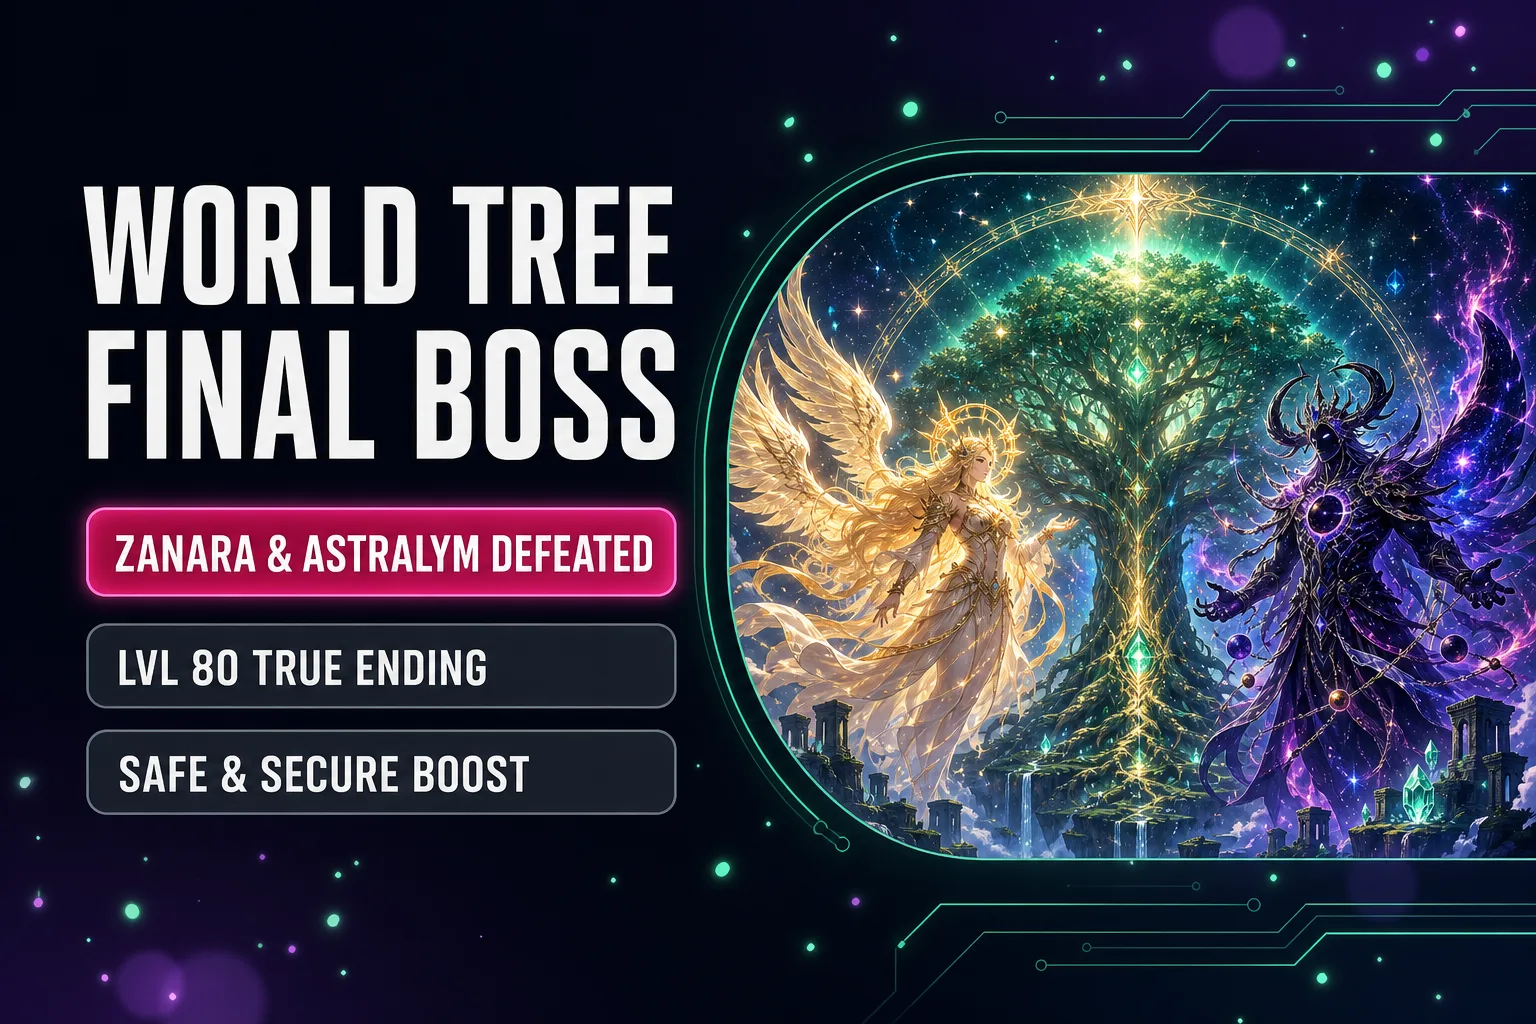 Final boss
Palworld World Tree Final Boss Boost
The guardians, the core door and Zenara and Astralym cleared on your account.
_65b7c980b642e.webp) Level 80
Palworld Character Leveling 1-80
Your character to level 80, the cap the final boss asks for.
_65b8d75f6ebdc.webp) Pal levels
Palworld Pals Leveling 1-80
Your combat Pals raised to the level the World Tree Pals sit at.
 Captures
Pal Capture
Up to 10 Pals caught for you, legendary picks included.
World Tree Holy Water (0.1 Weight) & All 5 World Tree Passives
Endgame crafting inside the tree revolves around  Paloxite ore nodes and
 Mythical Wood trees. Walking up to either node without protection causes the resource to vanish instantly.
Drinking  World Tree Holy Water stabilizes both materials for an extended buff window. Since patch v1.0.3 (retained in v1.0.5), Holy Water weighs 0.1 per bottle (90% lighter than its 1.0 launch weight). You can farm it from 5 sources: wild World Tree Pals, the 3 Teafant Springs, World Tree fishing spots (rebalanced in v1.0.4 alongside bait-specific yields, the Fish Behavior During Fishing Minigames world setting, and lighter World Tree rendering load), World Tree Expeditions, and your base's Large Fishing Pond (unchanged in live v1.0.5 while Pocketpair holds v1.1 Side by Side news during 17 November's GTA 6 launch week).
| World Tree Resource | Primary Source | Harvest Requirement |
|---|---|---|
| World Tree Holy Water | World Tree Pals, 3 Teafant Springs, Fishing & Expeditions | 0.1 carry weight per bottle · Lv 72+ squad |
| Paloxite | Mineral nodes across World Tree roots | Active Holy Water buff or World Tree passive |
| Mythical Wood | Luminous timber trees inside the World Tree | Active Holy Water buff or World Tree passive |
Permanent Mining Fix: All 5 World Tree Passives
Keeping any Pal with a World Tree passive in your active party permanently prevents Paloxite and Mythical Wood from disappearing without consuming Holy Water. Light-blue glowing Awakened Pals and wild Ominous Eggs inside the tree guarantee at least 1 of these 5 passives:
| World Tree Passive | Stat Bonus & Trade-Off | Best Use Case |
|---|---|---|
| Dimensional Leap | Movement Speed +50%, Hunger drain +15% | Top-tier flying mount passive for map traversal |
| God of Destruction | Attack +40%, Defense +20%, Max HP -50% | Glass-cannon burst DPS on mounted strikers |
| Sanctified Meat Shield | Defense +50%, Attack -30% | Front-line tank swap during Forbidden Lab pairs |
| Hermit Sage | SAN drops 50% slower, Work Speed -20% | Sustained party slot during long mining loops |
| World Tree's Bounty | Hunger drops 50% slower, Max HP -20% | Zero-upkeep passive holder for resource runs |
The Sealed Calamity: All Lv 78 Guardians & Forbidden Laboratory Pairs
The Sealed Calamity main quest requires defeating 3 Level 78 guardian encounters to unseal the inner barrier, followed by presenting all 8 Tower Key Spheres at the western Core gate:
| Lv 78 Guardian | Zone | Elements | Best Elemental Counter |
|---|---|---|---|
 Silvance | Shinespore Root | Grass |  Fire strikers (Faleris) |
 Dandilord | Rotmist Root | Grass /  Dark | Fire +  Dragon (Jetragon) |
| Highly Modified Pals | Forbidden Laboratory | 4 sequential 2-boss waves | Focus-fire 1 boss per wave immediately |
Inside the Forbidden Laboratory, all 8 former tower boss Pals return at Level 78 across 4 back-to-back duo waves. Eliminate 1 target per pair immediately so dual aggro never overwhelms your active Pal:
- Wave 1:
 Grizzbolt (
 Electric) +
 Lyleen (Grass) · Burn Lyleen down immediately with Fire skills.
- Wave 2:
 Orserk ( Dragon / Electric) +
 Faleris ( Fire) · Burst Orserk with
 Ice, then punish Faleris with Water.
- Wave 3:
 Shadowbeak ( Dark) +
 Selyne ( Dark /
 Neutral, Sakurajima Tower) · Sweep both with Dragon AoE.
- Wave 4:
 Bastigor ( Ice, Feybreak Tower) +
 Shaolong ( Water / Dragon) · Melt Bastigor with Fire, then swap to Electric.
Interactive World Tree Counter Pals & Level 80 Gear Matrix (Click to Filter)
Filter the table below by Dragon, Fire, Electric, Dark, Ice, or Gear slot. Toggle S or A tier to assemble your 5-Pal party and Core weapons (Palworld 1.0 tier list):
| Category | Pal / Endgame Item | Tier | Tech / Level | World Tree Boss & Arena Role |
|---|---|---|---|---|
| Dragon |  Jetragon | S | Saddle Tech Lv 70 | Fastest aerial mount for dodging Astralym; shreds Dandilord and Lab Wave 3 |
| Fire | Faleris | S | Combat Lv 78-80 | Primary Fire flier that counters Silvance, Dandilord, Lyleen, and Bastigor |
| Electric | Orserk | S | Combat Lv 78-80 | Deletes Shaolong in Lab Wave 4 and sets up fast Panthalus shrine captures |
 Gear | Beam Launcher | S | Tech Level 80 | Top burst weapon to shatter Astralym's wing charge and pass the 20s finale check |
| Gear |  Lightweight Ancient Armor | S | Tech Level 79 | Best mobility-to-defense body armor; pair with  Ancient Shield (Lv 71) &  Ancient Helm (Lv 68) |
| Dark | Shadowbeak | A | Combat Lv 80 | Tanky mounted Dark burst for typeless Zenara and Astralym damage windows |
| Ice | Bastigor | A | Combat Lv 78-80 | Heavy Ice brawler paired alongside Fire leads to delete Orserk in Lab Wave 2 |
| Gear | 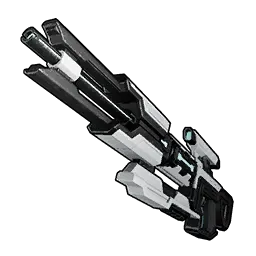 Plasma Rifle | A | Tech Level 78 | Sustained mid-air weak-spot rifle while cycling Beam Launcher reloads (Paldium farm) |
World Tree Map Landmarks & Final Boss: Zenara and Astralym (Lv 80)
Crossing from the entrance to the western Core gate spans multi-layered roots including a health-draining radiation biome (equip a protective mask helmet before entering Corroded Hollow). Unlock every landmark along the climb so wipe recoveries stay instant:
| World Tree Landmark | Total Count | Function & Key Zones |
|---|---|---|
| Fast Travel Statues | 15 | Permanent warp checkpoints across Shinespore Root, Rotmist Root, Corroded Hollow & Lab |
| Watchtowers | 2 | Clear fog-of-war + enable fast travel at Dusty Ravine and Gilded City Ruins |
| Teafant Springs | 3 | Full player/party HP recovery + World Tree Holy Water pickups |
How to Beat Zenara and Astralym at Level 80
Zenara and  Astralym wait behind the 8-Key-Sphere Core door at Level 80. Because Astralym carries 0 elemental weaknesses, reach Level 80 beforehand so your Pals hit the cap (character Level 80 boost and Pal Level 80 leveling):
- Fight from an aerial mount or Wing Pack: Astralym repositions constantly across the arena; Jetragon or Faleris keeps your Plasma Rifle on target while evading ground sweeps.
- Focus the wings during center-arena charges: Whenever Astralym flies to the center to channel its arena-wide nuke, dump Beam Launcher shots directly into its wings to stagger and cancel the cast.
- Hold cooldowns for the 20s final stand: At critical HP, Astralym channels 1 final wipe attack with roughly 20 seconds to deplete its remaining health bar.
Astralym is uncatchable; defeating the duo triggers the Palworld 1.0 story ending.
Related Palworld 1.0 Tower & Progression Guides
- Azure Covenant Tower Guide: Beat Auri and Shaolong to unlock the Panthalus questline.
- Feybreak Tower Guide: Counter Bjorn and Bastigor before the Sunreach climb.
- Sakurajima Tower Guide: Defeat Saya and Selyne for your Key Sphere collection.
- Palworld 1.0 Pals Tier List & Paldium Fragment Farm: Build and fund your Level 80 Core squad, or browse all Palworld Boosts.
From the source
Official“Palworld v1.0 official launch changelog: Level 80 cap, World Tree endgame region, Wing Pack, Awakening, and main story finale.”
FAQ
- Added Patch v1.0.4's World Tree fishing difficulty, bait-yield, and rendering optimizations alongside live v1.0.5 verification and Pocketpair's 17 November v1.1 Side by Side news update.
- November 2026 rework (v1.0.5): added interactive filterable Pal & Lv 80 gear matrix, 0.1-weight Holy Water + Fishing/Expedition sources, Tech Lv 70 Jetragon saddle, and 3-layer banner.
- Published for Palworld v1.0.5 with the Panthalus unlock, Holy Water, World Tree passives, the 3 guardians and the final boss.